Easter Table Place Setting
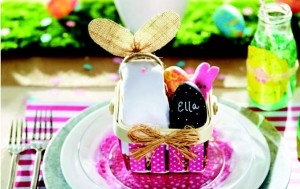
 A bunny basket can make an egg-cellent table place setting. Hop over to Michaels.com for a complete Easter décor shopping list.
Materials
• Paper crinkle
• Celebrate It™ Easter Chipwood Berry Basket
[Note: Replace with any small basket or an actual berry container.]
• Celebrate It™ Easter Ceramic Eggs – Chalkboard
• Fabric napkin, white
• Napkin rings, burlap
• Mini glue dots sheets
• Pom pom, 5 mm, pink
• Chalk marker
• Peeps
• Plates ─ charger, white & clear
• Placements, pink or seasonal designed
• Crochet doily
Directions
1. Fill basket approximately 2/3 full with paper crinkle.
2. Fold fabric napkin to create bunny: Lay napkin out flat. Take bottom right corner and fold it up to the top left corner to form a triangle. Arrange the triangle so that the longest side is at the top. Tuck both sides to the back; fold downward toward the bottom point. Roll the sides back; tuck napkin into napkin ring.
3. Place formed napkin on left side of berry basket. To create a nose, adhere a small, pink pom pom with glue dots.
4. Add a marbleized egg [see “Egg Tips”] to the right side of the napkin.
5. Using chalk marker, write a guest name on a chalkboard-painted egg [Note: Purchase chalkboard eggs or paint your own.]. Add design dots; let dry. Position in front of marbleized egg.
6. Tuck in an Easter treat, such as Peeps.
7. Lay out placemat. Layer a charger plate, white dinner plate, pink doily and clear plate. Center completed berry basket on top.
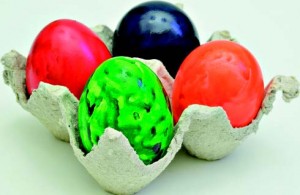
 Egg Tips: Instead of dying, roll eggs through a variety of paint splatters to create marbleized Easter eggs.
Materials
• Craft paint, acrylic (various colors) and glitter
• Wax paper
• Plastic bin
• Plastic Easter eggs
Directions
1. Line base of plastic bin with wax paper.
2. Squirt paint on the wax paper.
3. Roll egg around until it is covered in paint and paint blends together to create a marbleized look.


